Setting up a home studio for the first time can be both exciting and overwhelming. Whether you’re an aspiring musician, podcaster, or content creator, having your own creative space allows you to produce high-quality audio without needing to rent professional studios. The key lies in understanding the essential components and how to properly configure them. In this guide, we’ll walk you step-by-step through the process of building your first home studio, focusing on clarity, functionality, and creativity.
Understanding the Basics of a Home Studio Setup
Before you jump into buying gear, it’s crucial to understand what a home studio is designed for. Essentially, a home studio is a compact setup that allows you to record, edit, and produce audio or music from your own space. It doesn’t need to mirror a professional studio to be effective; instead, it should serve your unique goals—whether that’s recording vocals, instruments, podcasts, or voice-overs.
A good setup involves balancing hardware, software, and environment. You’ll need input devices like microphones or instruments, output devices such as headphones or monitors, and an audio interface to connect them. On the software side, a Digital Audio Workstation (DAW) acts as your central hub for recording, mixing, and mastering projects. Understanding these roles early helps you avoid unnecessary spending and confusion.
The most important thing is to start simple and expand over time. Many beginners try to assemble a fully equipped studio from the start, only to realize half the equipment goes unused. Focus on getting your fundamentals right first—clear sound, reliable recording, and a comfortable workspace. You can always add gear once you know what truly fits your creative process.
Choosing the Right Equipment for Your First Studio
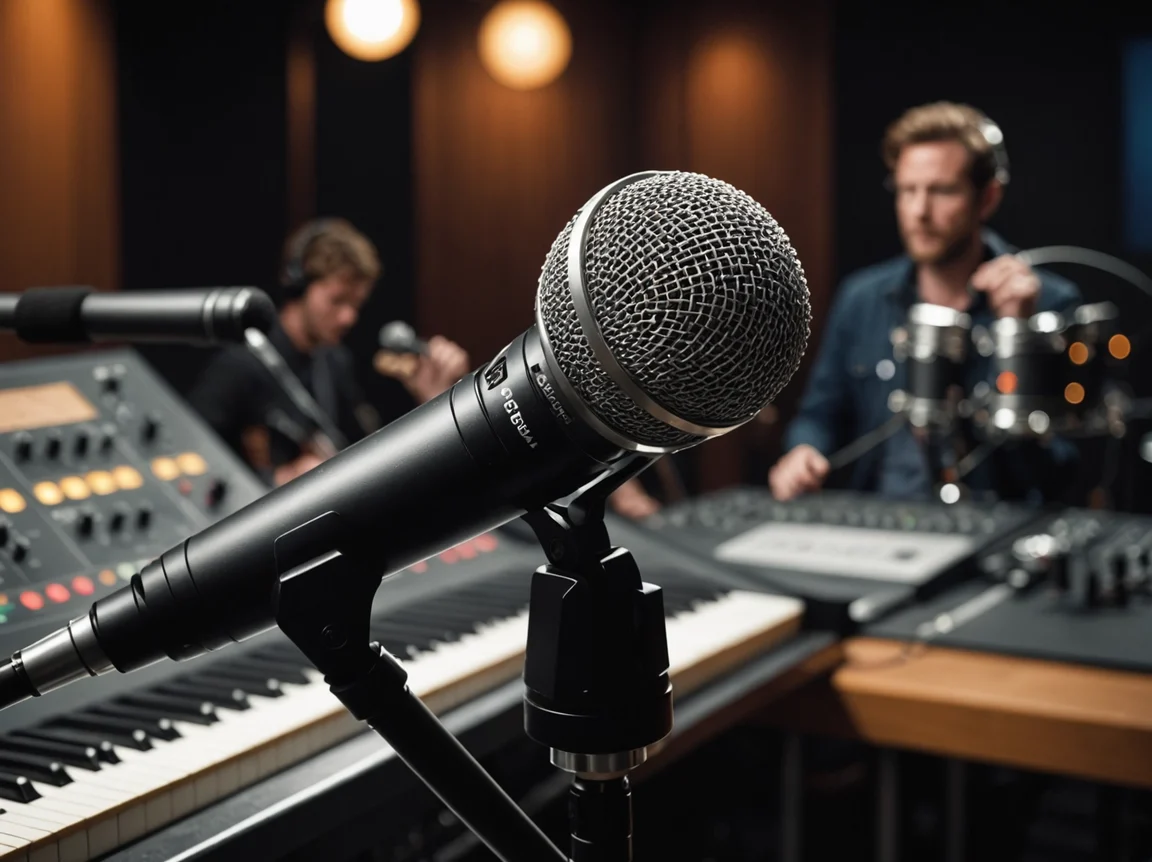
Selecting equipment can feel like diving into a sea of endless choices. Start with a decent microphone suited to your recording purpose. For vocals and general use, a large-diaphragm condenser mic is a great option. You’ll also need an audio interface to convert analog signals into digital for your computer and vice versa. This is the heart of your studio since it ensures your recordings maintain high quality.
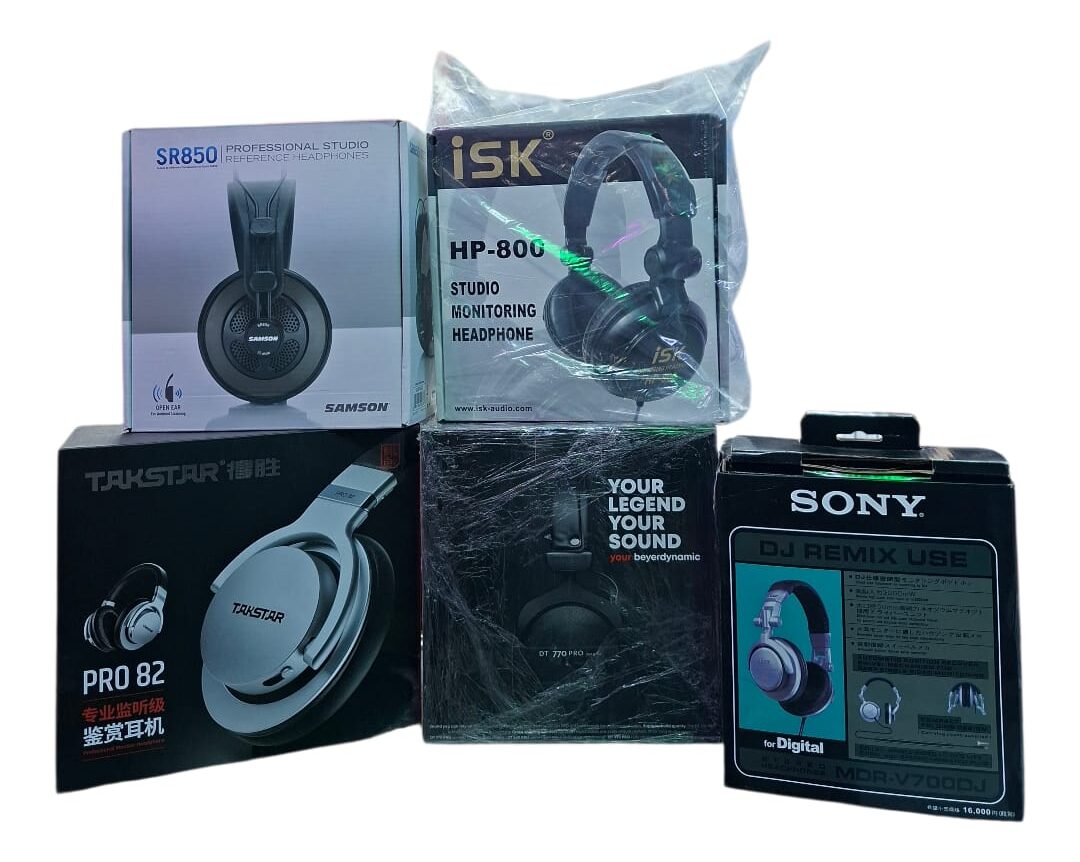
Next, consider your monitoring options. Studio monitors and headphones are crucial for accurately hearing your mixes. Avoid regular consumer speakers—they often color the sound. Instead, get a pair of near-field studio monitors or good closed-back headphones to analyze recordings objectively. A pair of sturdy mic stands, pop filters, and cables will round out your essential gear.
Lastly, remember that more expensive doesn’t always mean better. Many affordable brands now make excellent beginner-friendly studio equipment. Look for reliability, user reviews, and compatibility with your setup rather than chasing top-tier professional tools. Starting with a modest but solid foundation helps you learn your craft while keeping costs manageable.
Setting Up Your Recording Space for Best Sound
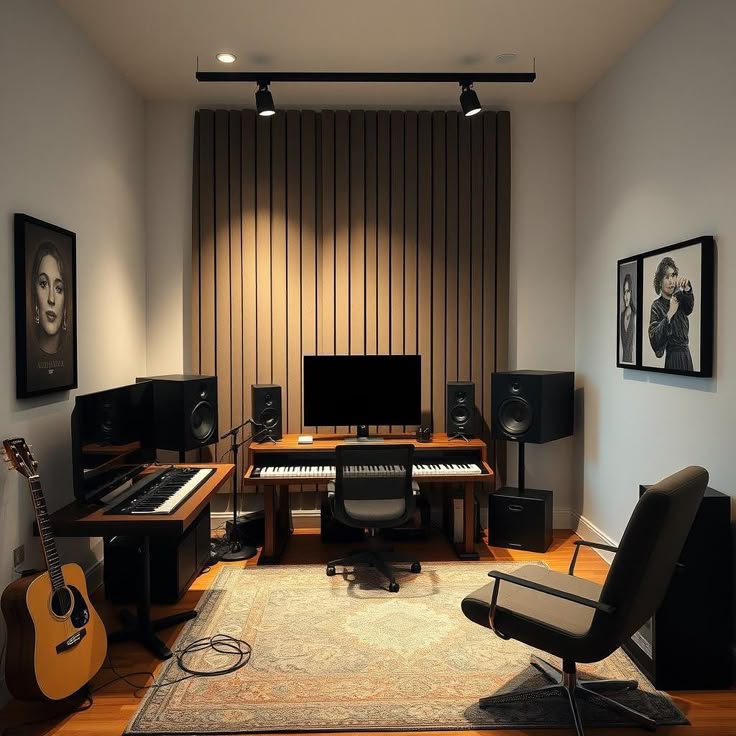
The room you record in affects your results more than you might think. Sound reflections, background noise, and room shape all play major roles in determining recording quality. Begin by choosing the quietest and most isolated spot possible in your home—preferably away from noisy areas like kitchens or road-facing windows. Consistency in your environment will make mixing and mastering much easier.
To improve acoustics, you can incorporate some simple sound treatment. Acoustic foam panels, bass traps, and reflection filters help reduce echo and unwanted reverb. If you’re on a budget, even items like thick curtains, rugs, or bookshelves can help absorb sound reflections. The goal is to minimize noise bouncing around the room, ensuring what your microphone captures is clear and true.
Good lighting, layout, and comfort also matter. Make sure your equipment is placed ergonomically—your monitors at ear level, your computer easily accessible, and cables neatly managed. A comfortable workspace keeps you focused and encourages longer, more productive creative sessions. When you feel good in your studio, it shows in your recordings.
Connecting and Configuring Your Studio Gear Properly
Once you’ve chosen your equipment and set up your space, it’s time to connect everything correctly. Start by linking your microphone to the audio interface using an XLR cable. Connect your studio monitors or headphones to the audio interface outputs, and then link the interface to your computer via USB or Thunderbolt. This simple chain ensures all your devices communicate properly.
Next comes configuring your Digital Audio Workstation (DAW). Install your interface’s drivers and open your DAW’s settings to select the correct input and output devices. Check your recording levels—too low, and you’ll lose detail; too high, and you’ll get distortion. Aim for balanced input signals that peak around -6 dB for clean, flexible recordings.
Finally, test everything before your first session. Record a short sample to ensure all equipment works properly and your sound quality meets expectations. It’s always better to troubleshoot before inspiration hits rather than lose precious creative momentum later. Once configured, your studio will be ready for crisp, reliable recording sessions.
Essential Tips to Improve Workflow and Creativity
Organization is key to staying productive in a home studio. Label your cables, keep your workspace tidy, and create templates in your DAW for different recording situations. This saves time every time you start a project. Back up your files often—losing work due to technical issues is one of the most frustrating setbacks a creator can face.
Establishing a routine also helps. Treat your studio time like a professional session—set goals, schedule breaks, and limit distractions. A structured workflow encourages consistency and improvement, while too much randomness can lead to frustration. Use the tools available in your DAW to streamline processes—like shortcuts, plugins, and presets—to maintain creative flow.
Lastly, don’t forget the “human” side of creativity. Experiment with ideas, collaborate with others, and enjoy the process. The beauty of a home studio is having a personal, flexible space to grow your skills and artistic voice. As you become more comfortable, you’ll naturally find new ways to expand your sound and refine your workflow.
Building your first home studio doesn’t have to be complicated or expensive. By understanding the basics, choosing the right equipment, and taking care to set up your space properly, you can achieve professional-sounding results right from home. With patience and consistent practice, your studio will become both a creative sanctuary and a powerful tool for bringing your audio projects to life.